To work on any of the micro:bit projects on this site, you will first need to connect your microbit.
🌐 Step 1: Open the editor
Go to the MakeCode editor: makecode.microbit.org
🆕 Step 2: Start a new project
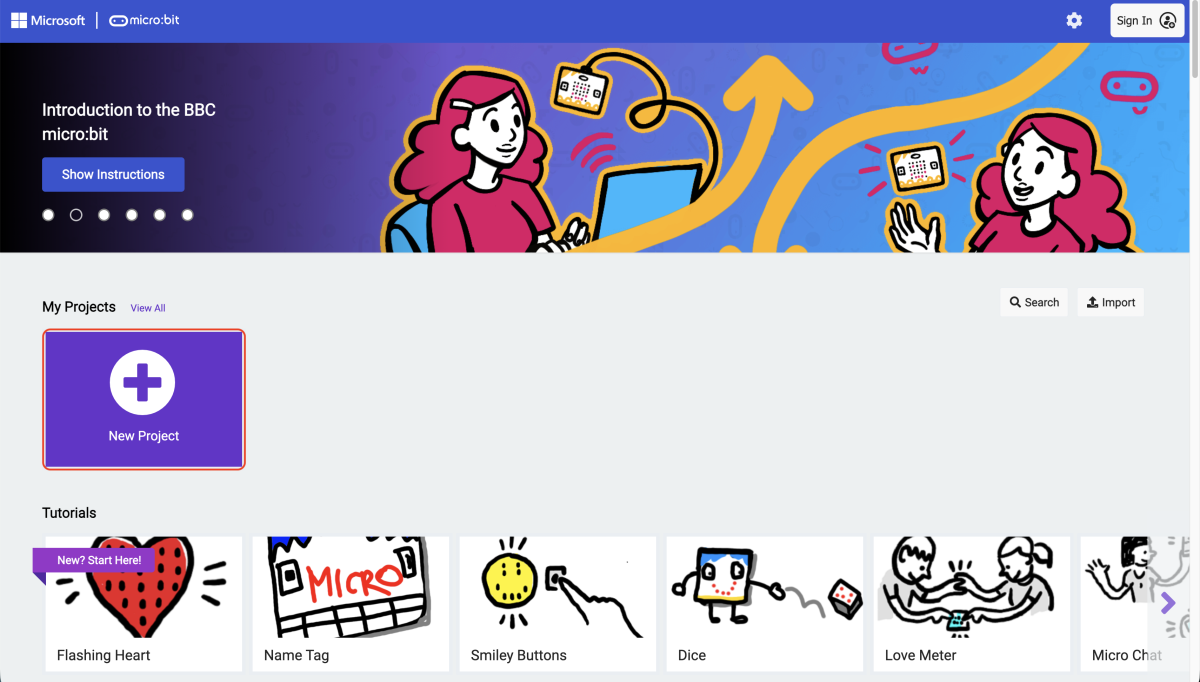
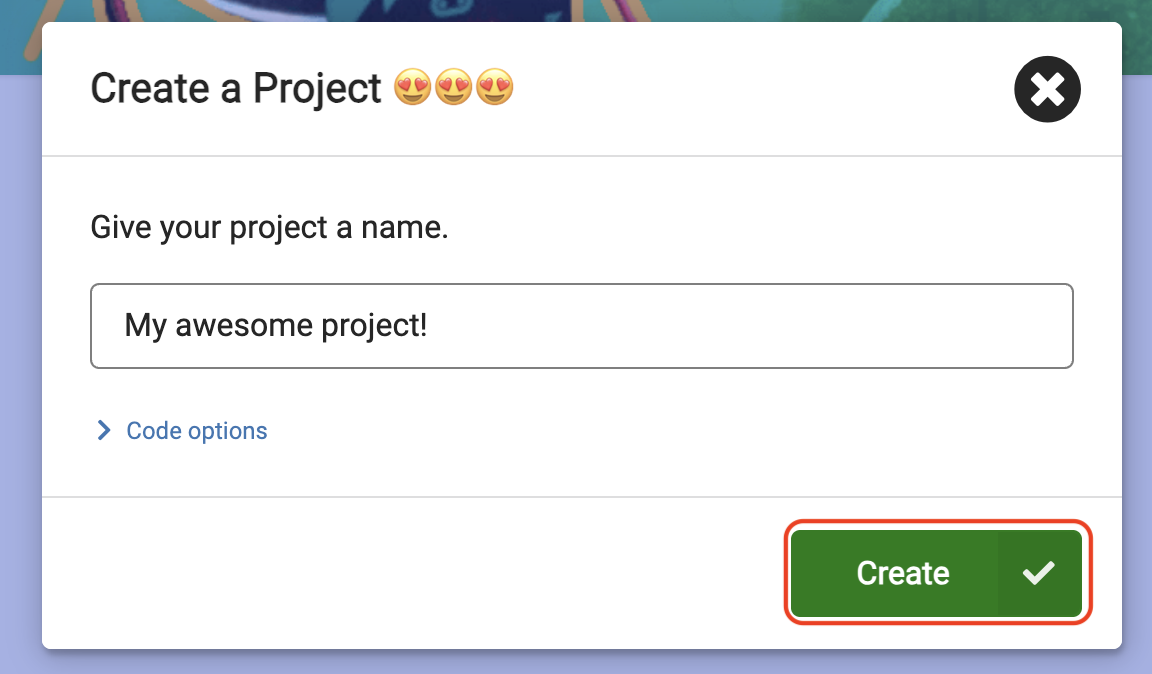
Click on the New Project button, give your project a name and click Create.
🖱️ Step 3: Start connection process
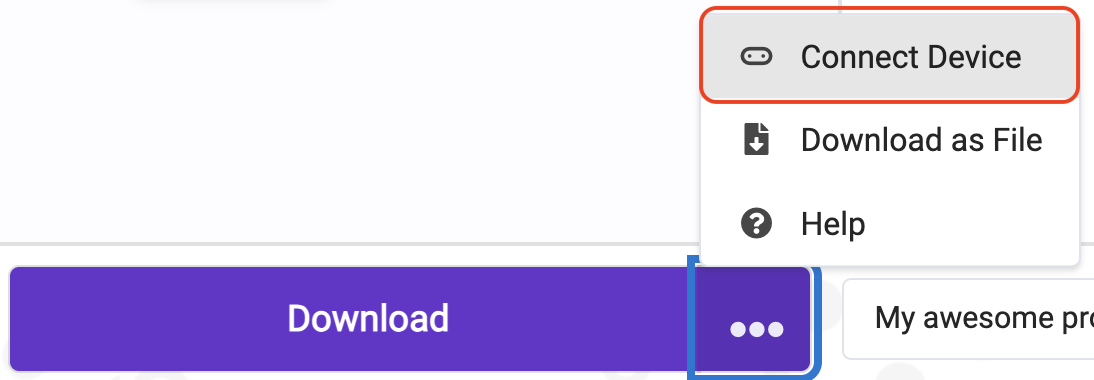
Click the three dots next to the Download button in the bottom left of the screen, and choose Connect Device.
🔌 Step 4: Connect the device
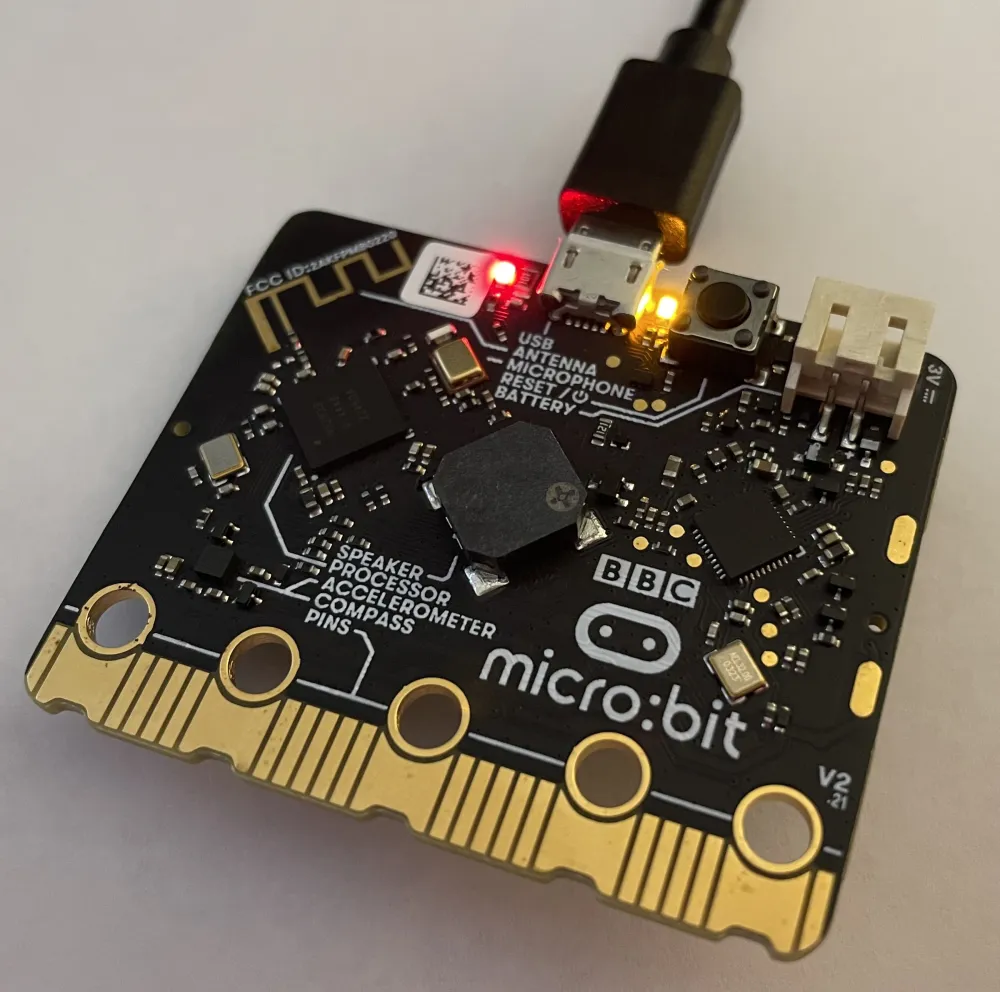
Using the USB cable provided, plug your micro:bit into your computer. You should see some lights turn on!
🔗 Step 5: Pair the device
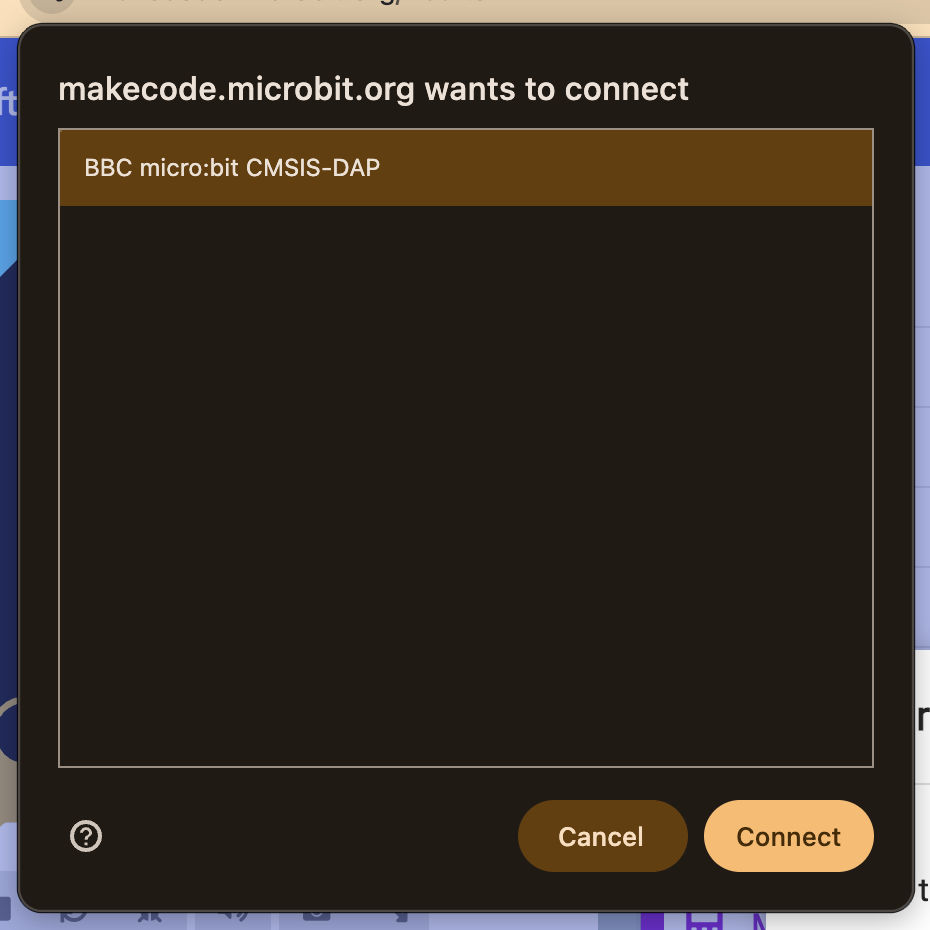
Press Next and then Pair. You should see a list of devices to pair - you might see other things listed there. You are looking for something with a name like “BBC micro:bit”. Select it and click Connect.
🧪 Step 6: Quick test
To test that everything is working, create a simple script like this:
input.onButtonPressed(Button.A, function () {
    basic.showIcon(IconNames.Heart)
})
⬇️ Step 7: Download the program
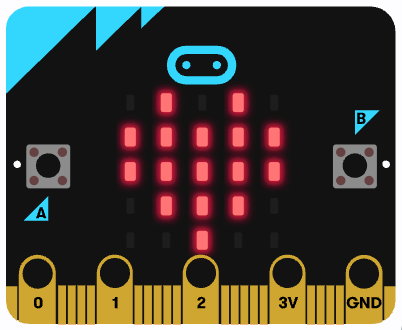
Now click Download to transfer the program to your micro:bit. Once that’s done you should be able to press the A button on the micro:bit and see the heart icon!
Important: Always eject your micro:bit before disconnecting it.
When you download a program, your computer keeps talking to the micro:bit for a moment afterwards to finish writing it - a bit like still scribbling the last few words on a page after you’ve said “I’m done!” If you pull the USB cable out during that moment, the program can get muddled up and stop working properly. Ejecting first tells your computer to wait until it’s truly finished before you unplug it.
Please follow the guide for your platform:
- Windows: Safely remove hardware in Windows
- Mac: Eject a storage device